
Category
Focusing with your camera
How does focusing work with your camera? There are several settings you can use on your camera. Let's go through them:
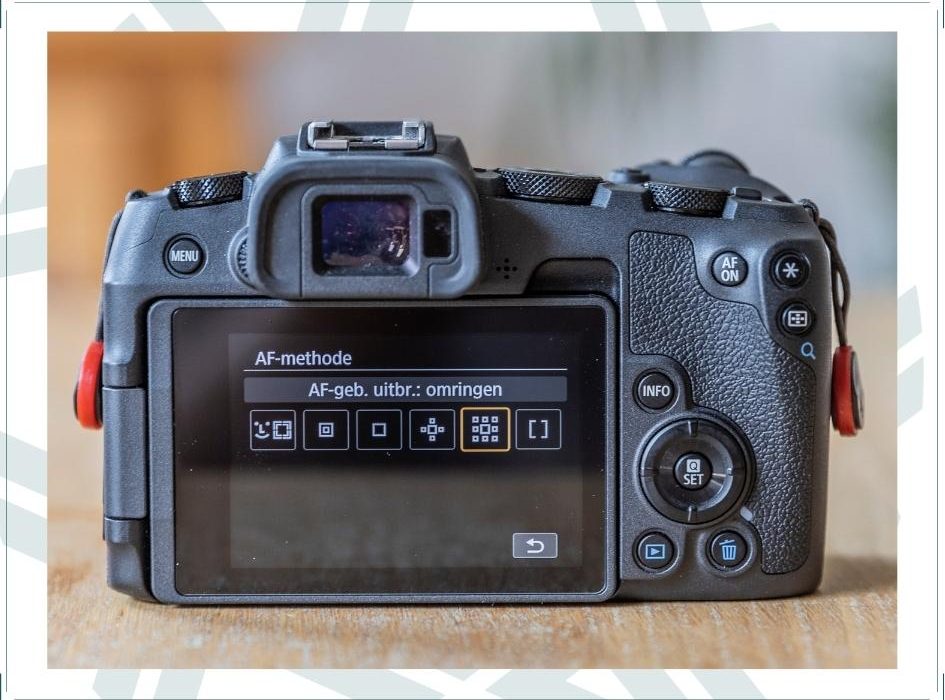
 AF method
Something you've used before, but how does it actually work? When taking a photo, we press the shutter release button of the camera halfway. We see through the viewfinder or on the screen, one or more dots light up and press the button further to take the photo.
Focusing is done in a fraction of a second. The speed of focusing also depends a bit on the camera and lens combination.
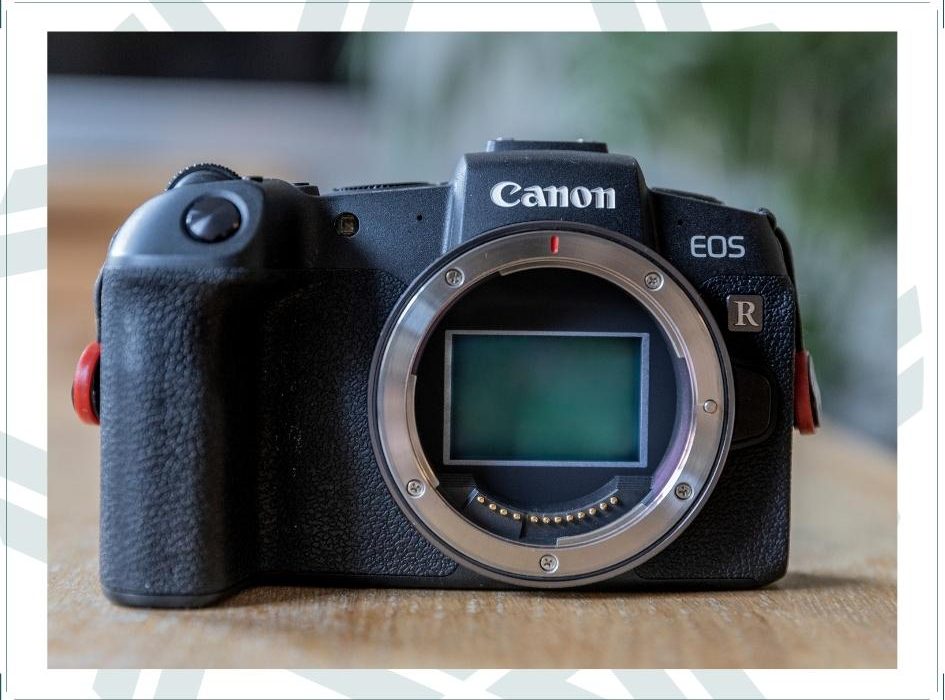
Focus point
Not the entire image is linked to the AF sensor, but only a few focus points. That varies from 11 to more than 500. You see these focus points as dots or zones in the viewfinder of the camera. The middle point is the most sensitive. This measures both the horizontal and vertical contrast with an extra high sensitivity, in less light or low contrast. You can purposefully select one focus point, but you can also use an entire zone.
Many photographers use the center focus point and reframe the image, then take the picture. You can also choose to choose a different focus point, but then you have to focus properly for each photo. There is also a mode where all focus points are active and the camera chooses a point itself. This is by far the fastest method, but can result in a photo where the wrong element in your photo is in focus.
One shot / Ai Focus / Ai Servo
With One Shot, the focus point is locked when the focus point is found. So this mode is ideal for shooting still subjects.
Ai Focus recognizes it when movement comes from a still image. It then tracks the moving subject to focus. If something accidentally passes by, it can be detrimental, because you don't want to focus on the moving subject at all.
Ai Servo is the ideal mode if you have continuously moving subjects that you want to focus on. For example, think of a sports competition or car races. The focus point then continues to move with your subject.
Auto focus in liveview
With newer cameras with a touchscreen, it is possible to tap your focus point on your LCD screen. In this way you are no longer tied to the number of focus points that you see through your viewfinder, but you simply tap the subject you want sharp in your photo.
 Autofocus vs manual focus:
Your camera has trouble focusing automatically in the dark. The camera will not find a bright spot to focus on. This is not a disaster, because fortunately we can also focus manually. Also with macro photography you will often want to focus manually. So good to pay attention to!
If you focus manually, keep a few points in mind:
- Turn off the image stabilization on your lens
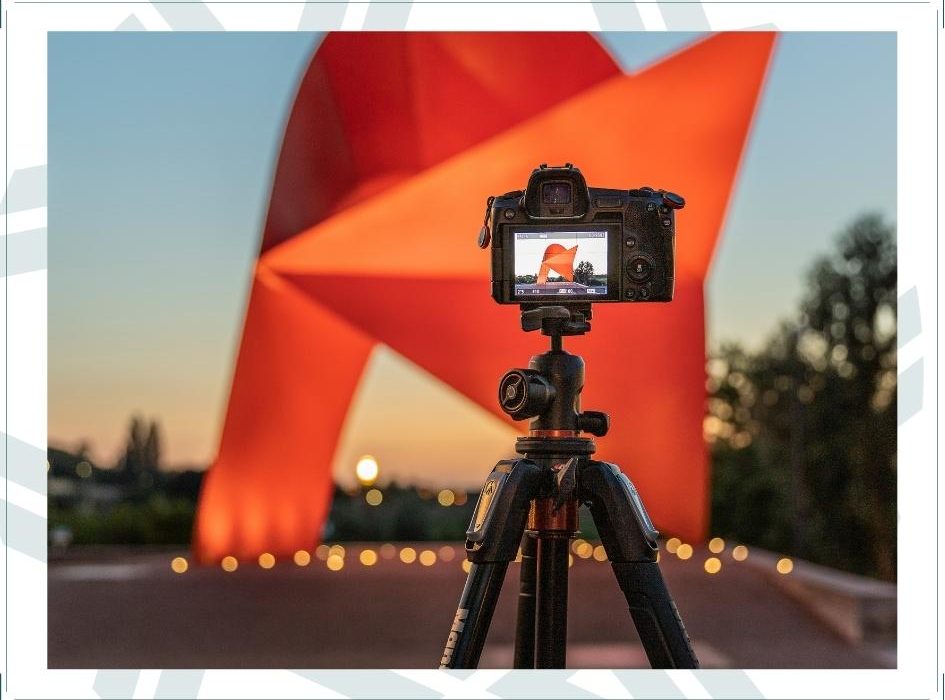
- First, determine a good composition and place your tripod in the desired location.
- Set your desired aperture, shutter speed and ISO.
- Always take a test photo first and judge if it is good.
- Macro photography is all about details. So make sure you have good focus to make sure that the right element of your photo is in focus.
- Use the infinity sign (see photo on the right) for the largest possible sharpness area. You can recognize the infinity sign by an 8-like symbol. Adjust to this and turn back a very small turn. How much exactly? That differs per lens. So just try it out.
- Take your photo and check whether you have the desired sharpness.
- After each photo taken, you have to manually focus again. Every change in composition or setting creates a new situation. So refocus.
To manually focus via your LCD screen:
- All of the above points also apply to manual focusing via your LCD screen.
- On your LCD screen you can see more clearly what your photo will look like and whether it is sharp.
- You are looking for a bright light source on your LCD screen. This can be anything, a lamppost, an illuminated shop front, a shop window, you name it.
- Zoom in on the light source with your magnifying glass and focus manually. You can clearly see when it is at its sharpest on your LCD screen.
Want to learn photography or brush up on your own photography skills?
Sign up for one of the many workshops!
Till clicks!
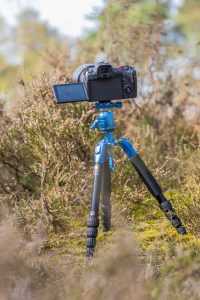

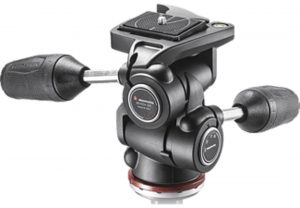 The most famous is the three-way head. You can move the three-way head in three ways: forward or backward, clockwise or counterclockwise, horizontally or vertically. This allows you to aim your camera extremely accurately. This can be done with levers, but also, for example, with rotary knobs where you can turn your tripod head per millimeter. three-way head
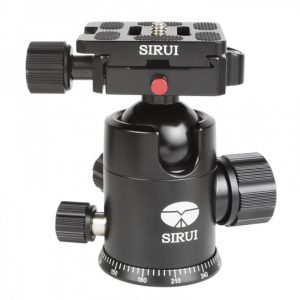 The second commonly used head is a ball head. It consists of a ball construction so that you can easily and quickly put your camera in the desired position with one lever. It is important with both models that the ball head must be able to bear the total weight of your camera and lens. Play it safe and rather add two kilos on top.
 How does it work?

 Star trails / star circles
 Besides operating the camera, there is another thing that is incredibly important when taking a good picture.


Recente reacties