
Monthly Archives

Which lens do you choose?
Let's keep it simple. There are now so many lenses on the market that you sometimes can't see the forest for the trees. No worries! I explain clearly and clearly what you can pay attention to. This way you go out with the right lens in your bag. Which choice do you ultimately make? That is entirely up to your preference. You can divide a lens into two categories:
- Zoom lens
- Prime lens
With zoom lenses you can of course zoom in and out, with prime lenses you can't. The advantage of a zoom lens is that you have a wide range. You can determine your composition comfortably from one place, by zooming in and out. A disadvantage is that the quality is somewhat less than with a prime lens. If you have a bright zoom lens, with a fixed aperture over the entire range, then the difference is not too bad. An example of this is a 70-200mm F2.8.
Prime lens forces you to use your legs to determine your composition. In order to learn to photograph, you are therefore forced to look at your composition differently. Consider this an advantage, your creativity is addressed. Another advantage of a prime lens is that it is often brighter and therefore also more qualitative. An example of this is a 60mm F2.8 or a 100mm F2.8 macro.

Let's look at the variants. You have:
- Macro lenses
- Telephoto lenses
- Other lenses
Macrolens
A macro lens is required for photographing details. This allows you to get the subject close and, depending on the magnification factor, display it enlarged. It is not for nothing that these types of lenses are so popular in macro photography.
Telephoto lens
You can also capture excellent detail with a telephoto lens. You can bring the subject closer and show more detail. Ideal for macro photography is a range from 200mm. Keep in mind that with a telephoto lens you have to observe the minimum focusing distance. Often you need to have at least 1 meter distance between you and your subject.
Other lenses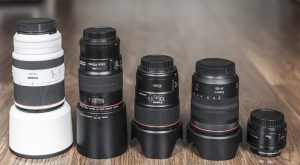
-
Wide angle lens
Even with a wide-angle lens, you can get started with macro photography. Because you can often get very close to your subject with a wide-angle lens, you get very interesting perspectives. Try it out, you will be amazed at the result.
-
Portrait lens incl. extension cube
An extension cube can be a godsend if you do not want or cannot invest in a macro lens. By means of an extension cube (placed between your lens and the camera), the minimum focusing distance to your subject is reduced. So you can get closer to your subject, allowing you to view it larger. An extension cube is only a hollow intermediate ring and is attractive in terms of price. In combination with (for example) bright portrait lenses, you get a surprisingly good result.
Want to learn photography or brush up on your own photography skills?
Sign up for one of the many workshops!
Till clicks!
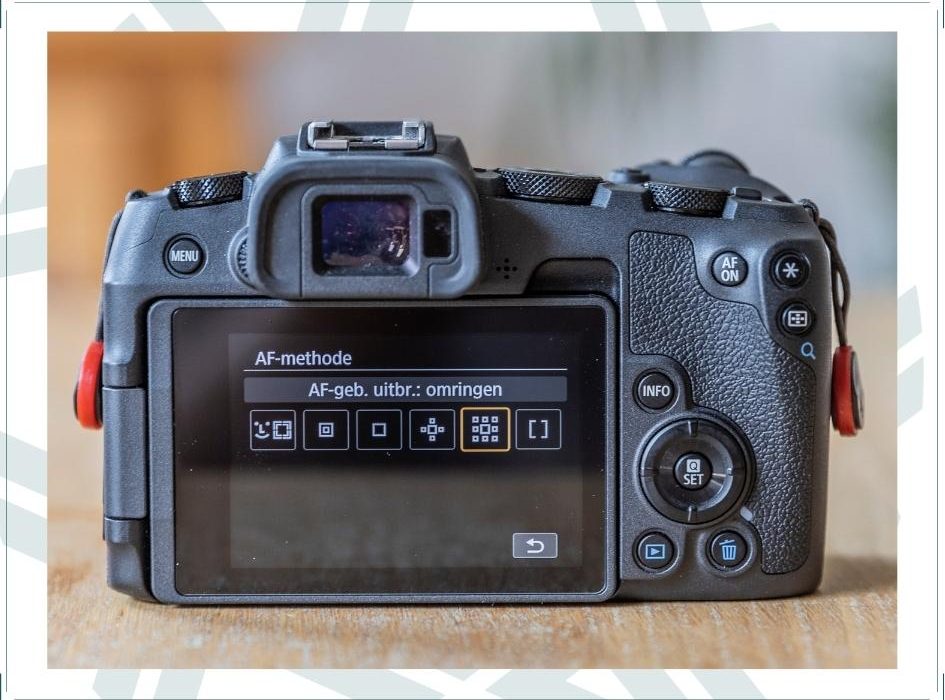
 AF method
 Autofocus vs manual focus:
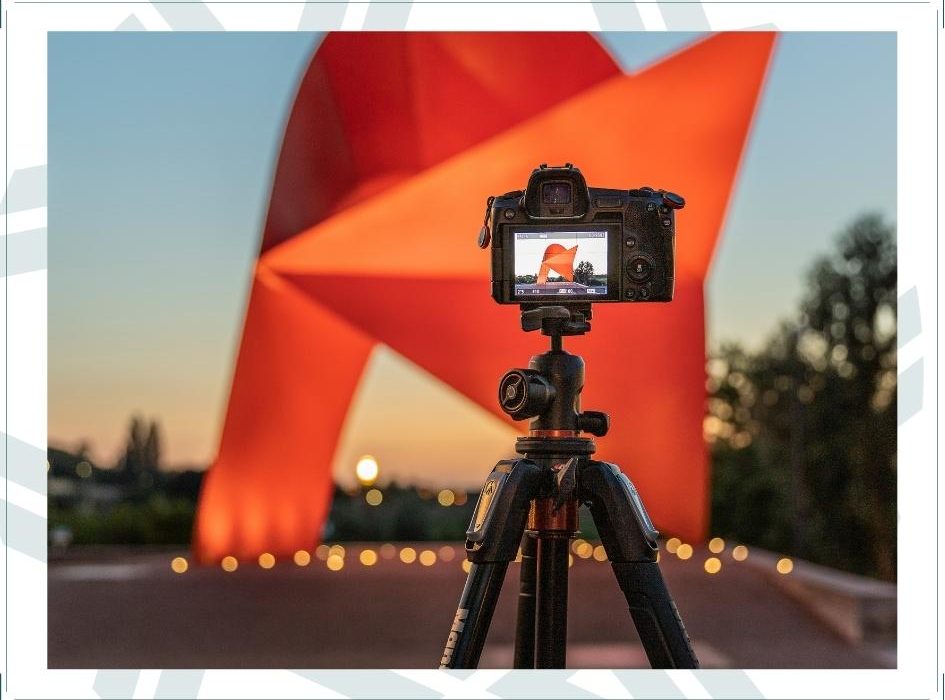

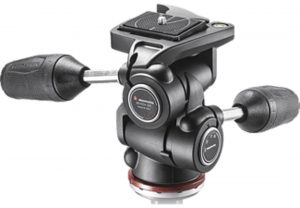 The most famous is the three-way head. You can move the three-way head in three ways: forward or backward, clockwise or counterclockwise, horizontally or vertically. This allows you to aim your camera extremely accurately. This can be done with levers, but also, for example, with rotary knobs where you can turn your tripod head per millimeter. three-way head
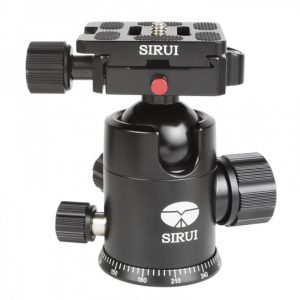 The second commonly used head is a ball head. It consists of a ball construction so that you can easily and quickly put your camera in the desired position with one lever. It is important with both models that the ball head must be able to bear the total weight of your camera and lens. Play it safe and rather add two kilos on top.
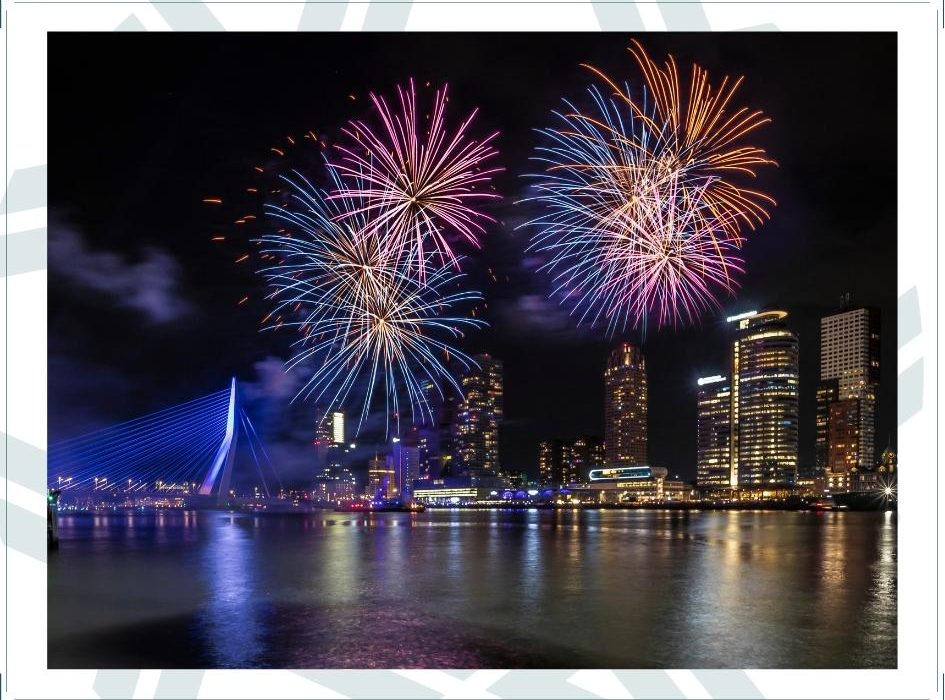
 How does it work?

 Star trails / star circles
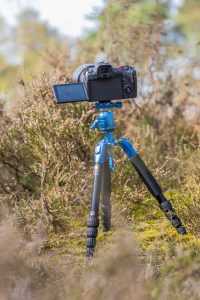
 Besides operating the camera, there is another thing that is incredibly important when taking a good picture.


Recente reacties