Photographing the stars
Photographing the starry sky is also known as astrophotography. For example photographing stars and planets when it is dark. It is a certain niche within the photography world that requires a lot of time and precision. In this news item, customer Tom tells about his experience of the astrophotography workshop and we will give you a number of tips to get started with capturing the starry sky.
Workshop Astrophotography Burg Eltz
Hobby photographer Tom recently took part in the astrophotography workshop at Travelmarks. This workshop took place at Eltz Castle in Germany. A photogenic location with beautiful natural surroundings. For this news item we asked him to share his experience with us.
Why did you choose to participate in this workshop?
I am interested in astrophotography and capturing it. Normally, I mainly photograph nature and landscape, but I prefer to be all-round. When I came across this workshop, I signed up to learn more about the startracker, which is needed when photographing the starry sky. This was also my first time doing a workshop like this.
What did you do during the workshop?
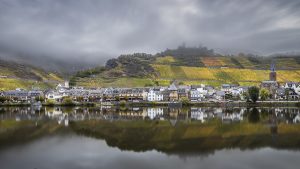
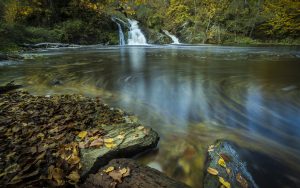
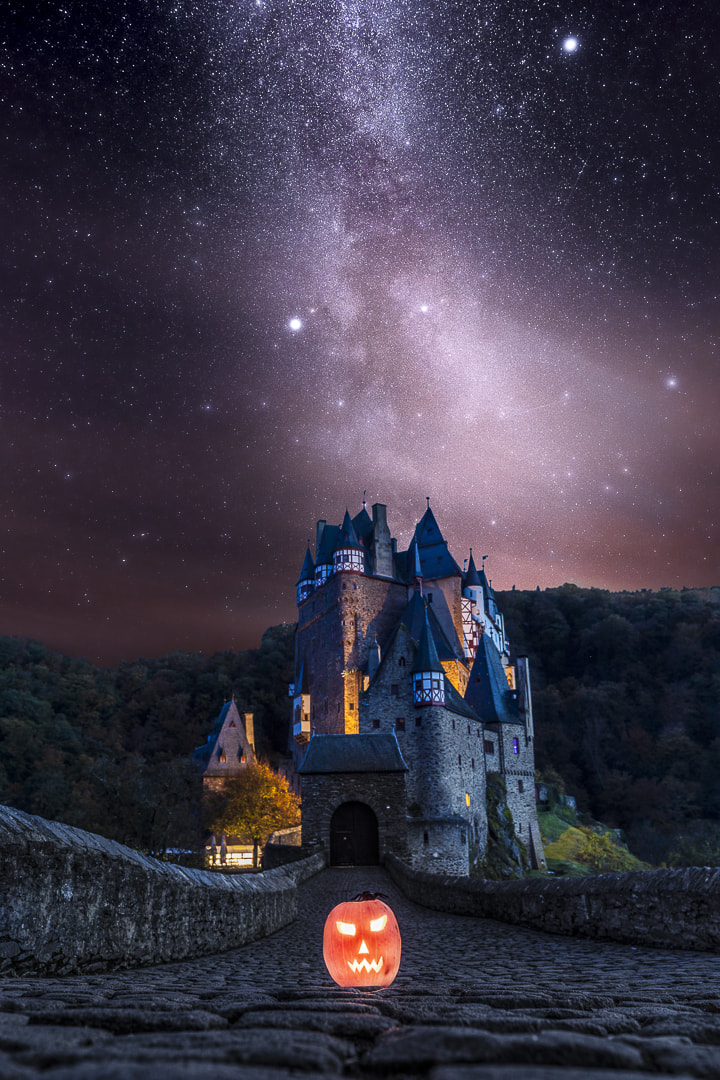
In the morning we took pictures at the river, It was still foggy and you could see another castle in the distance at the top of the mountain, which makes for a nice picture. During our visit we also went inside, where they walked around in traditional costumes. There was even a blacksmith at work and a singer, making it quite an experience. In the evening after dinner, we photographed the Milky Way at Burg Eltz until it was no longer visible. We used a startracker for this. That was very interesting and I learned a lot about it.
Was it as you expected?
More or less, we managed to photograph the Milky Way. We were dependent on the weather, because we already had to reschedule the workshop twice due to the weather conditions. But it was certainly a successful workshop and worth repeating. Perhaps in a different environment.
Are you satisfied with the results?
Yes, the result has become beautiful, but the photos still need to be edited. A few weeks later, we had also sat down with the group and Mark to share each other's work. There were plenty nice photos and everyone was very satisfied.
How was the guidance and do you have any tips for the next workshop?
The guidance was good, we also got a lot of time to get started ourselves. I also received some positive feedback. And the other students were actually just as enthusiastic. For a next time, an overnight stay could be added, so that there is even more time for astrophotography. The first evening we became acquainted with the startracker and the next evening we could start shooting. It would have been nice to have had more time for that.
Would you recommend this workshop for others?
In case you are interested, or if you want to delve further into it, then yes. There was good guidance so it is also doable for beginners. You do need some knowledge about the device. The starttracker is not yet known to many, but that was also explained.
What was the highlight for you?
It would be the evening at the castle / fortress Eltz for me, with photographing the Milky Way and the beautiful green surroundings there.

Getting started photographing the Milky Way yourself
Want to get started yourself? Then we are happy to give you some tips to help you on your way!
- Timing is very important in astrophotography. You want to be in the right location at the right time to use as much time as possible. So be well prepared and be at your location on time so that you can start right away with the right settings as soon as the conditions are at its best.
- The right weather conditions also play a major role in this. As mentioned earlier, the planning was changed twice because the weather conditions were not optimal. The best time to photograph the Milky Way is during new moon, on a clear, cloudless night. With as little light pollution as possible and oriented to the south. In the winter, the starry sky is not sufficiently visible, so it is best to go in the summer months.
- Using a startracker, which you place between your tripod and camera, you focus on a fixed point (the pole star) in the universe so that the camera moves with the earth. That way the stars remain visible and sharp in the photo. Using a starter tracker, your shutter speed can be up to a few minutes. A formula that helps determine shutter speed is as follows; 400/focal length = shutter speed in seconds.
- To capture both the starry sky and the subject in the foreground sharply, you can take two photos. For example at Eltz Castle, a photo was taken of the castle during the blue hour. When the Milky Way is best visible, it will be focused on for a second photo. During post-processing, both images are merged so that both the castle and the starry sky are clearly visible.
Want to learn to photograph or gain experience?
Would you like to learn more about (astro)photography and your camera yourself? Or gain more experience in the outdoors with guidance? Then take a look at the many workshops and sign up.

Till clicks!


